Live Tagging without Video
This guide covers the recommended live tagging workflow - capturing events as the match happens, without a pre-recorded video. You can add the video afterwards if you want to review the footage.
If you are recording the match with a connected camera, see Live Video Capture, which is available in Tagger Desktop.
Get Started
Open Tagger in your browser (Chrome is recommended).
Create a New Game
In Tagger, open the Game menu and select New.
Enter Game Details
Game setup is a four step wizard: Setup, Team A, Team B and Video.
- Setup - optionally enter competition, date and venue details, then select your Sport Configuration. If this is your first session the configuration list may be empty: select Import Template, choose the TeamOppy Catalog, then select a template. You can then adjust the players, subs, periods and minutes per period for this game.
- Team A and Team B - pick a squad to pre-fill the team name and lineup, or enter the team manually. Set the name, logo and colours, and build the lineup in the Editor or Picker view.
- Video - skip this step, since live video is handled after the game.
- Select Save.
Run the Match Timer
The match clock is displayed in a card in the top bar of the Tagger page. The card holds the timer settings, the play/pause control, the period number, the clock and the stop button for the current period.
Start the Game
Click the green play button in the clock card. The clock starts running.
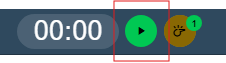
The tune icon at the start of the card opens the Timer settings, where you can change the Period, set the number of Periods and their Length for normal and extra time, switch the clock to count down, nudge the clock backwards or forwards, and Reset Timer.
Tag Events
Once the timer starts, player and event buttons become available.
- Select a player or event to begin tagging.
- If an event requires a player selection, you will be prompted to select the player.
- Similarly if a position is required then the position graphic will be displayed for you to select the position.
End a Half or Period
Click the red stop button in the clock card, then confirm in the End Period? dialog. The clock resets to 0:00 and the period number advances automatically.
Switch Sides
If you are viewing the match side-on (for example, from the touchline or stands), you may want to switch home and away sides before kick-off or at period changes.
Open the Tag Windows dialog using the panel icon at the top of the event buttons, then click Swap Sides. On tablet and larger devices the same action is also available as a shortcut in the app bar while you are tagging. The label shows the arrangement you are switching to - either Swap Sides (Team A left) or Swap Sides (Team A right).
Swapping sides changes the button panels. It also turns the position maps that show team end indicators 180°, so their ends match the new sides, while Auto Swap Position Map Sides is on (the default). Turn that preference off, or use a map that does not show team ends, and the map is left alone for you to rotate with the control described below. A new game always starts those maps at 0°.
Rotating a Position Map
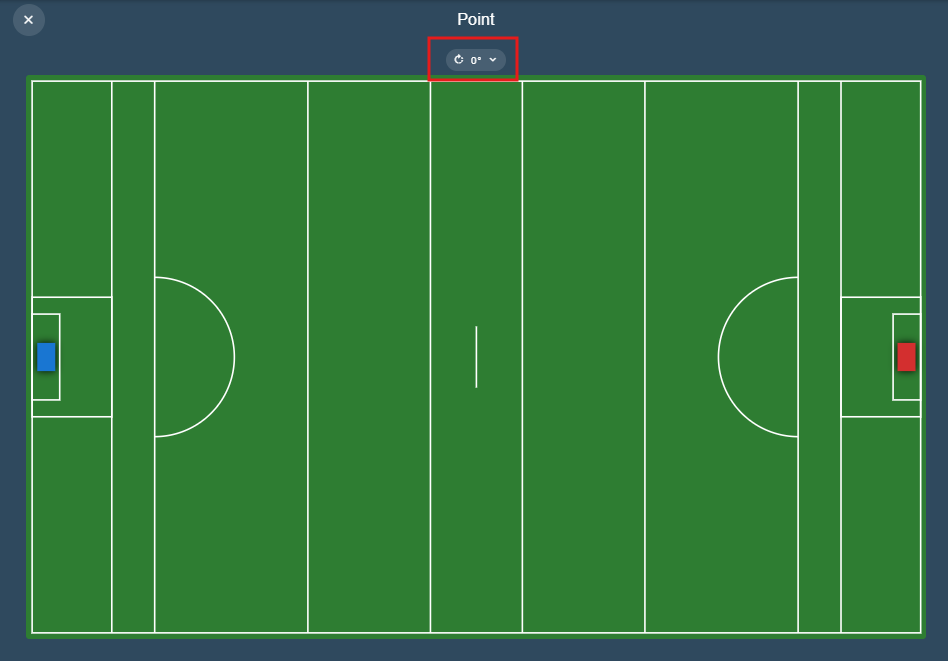
When you tag an event that requires a position, the position map opens with a rotation control above it. The button shows the current angle, and the menu offers 0°, 90°, 180° and 270°. This is the only setting that changes the orientation of a graphic.
At 0° the graphic is drawn exactly as it is configured, so a pitch that is wider than it is tall appears in landscape:
At 90° the same graphic is turned a quarter turn. This is useful for a pitch or court graphic on a device held upright, where it lines up better with the direction of play:
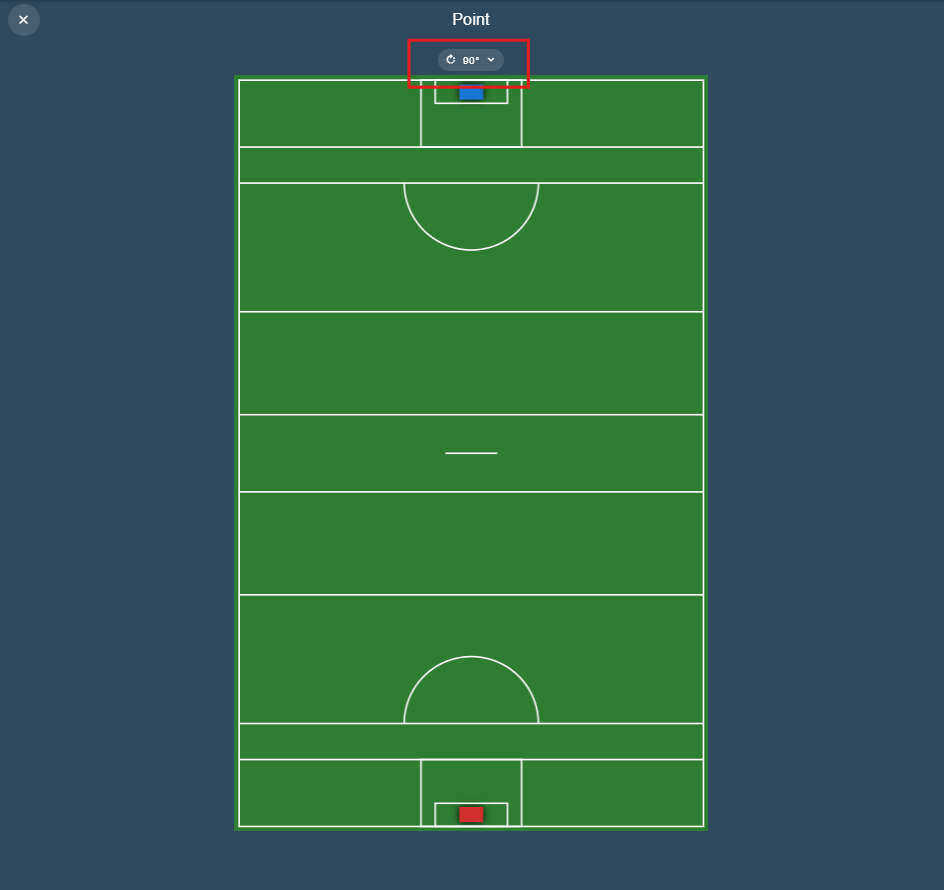
Rotation is a viewing and tagging preference stored on the device you are using. It survives a reload, is never sent to the server, and the positions you tag while rotated are saved in the graphic's own orientation - so rotating a map never affects your data.
A map that shows team end indicators is also turned automatically when you swap sides, unless you switch Auto Swap Position Map Sides off in Preferences.
Start the Next Half or Period
The period number advances automatically when you end a period, so there is nothing to select. Click the green play button in the clock card to start the clock for the next period.
End the Game
The match ends with the final period. End it in the same way - click the red stop button and confirm. Tagger has no separate Full Time button by design; ending the last period closes out the game.
Data Management (Important)
Game data is stored in your browser local storage. If browser cache or local site data is cleared, unsaved game data can be lost.
After each game:
- Open the Game menu and select Save Game.
- Choose Cloud Workspace or Local Device.
- Save the file.
Apply the same process for configuration and squad data to avoid accidental loss.
Download Tip (Chrome)
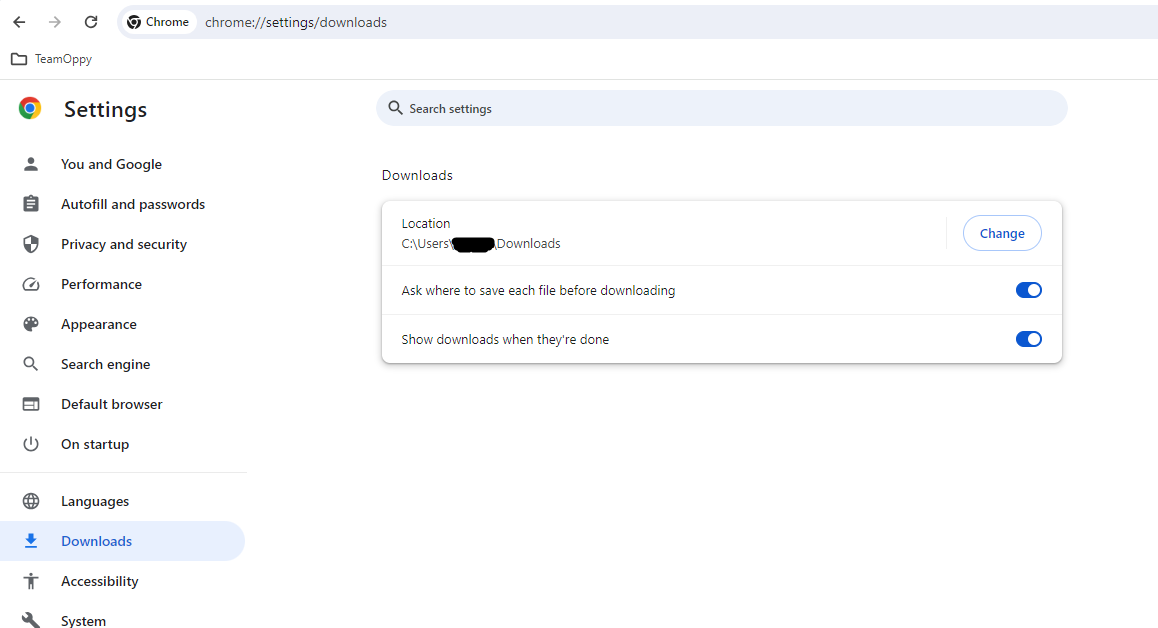
By default, Chrome saves files to the Downloads folder. For better file control, enable:
"Ask where to save each file before downloading"
Share Between Devices
You can tag live on one device (for example, a tablet) and continue analysis on another (for example, a laptop).
- Save and transfer the game JSON file manually, or
- Save to Cloud Workspace for direct multi-device access and long-term storage.